The ECS Z270H4-I Durathon 2 Mini ITX Motherboard Review
by E. Fylladitakis on September 5, 2017 10:30 AM ESTBIOS
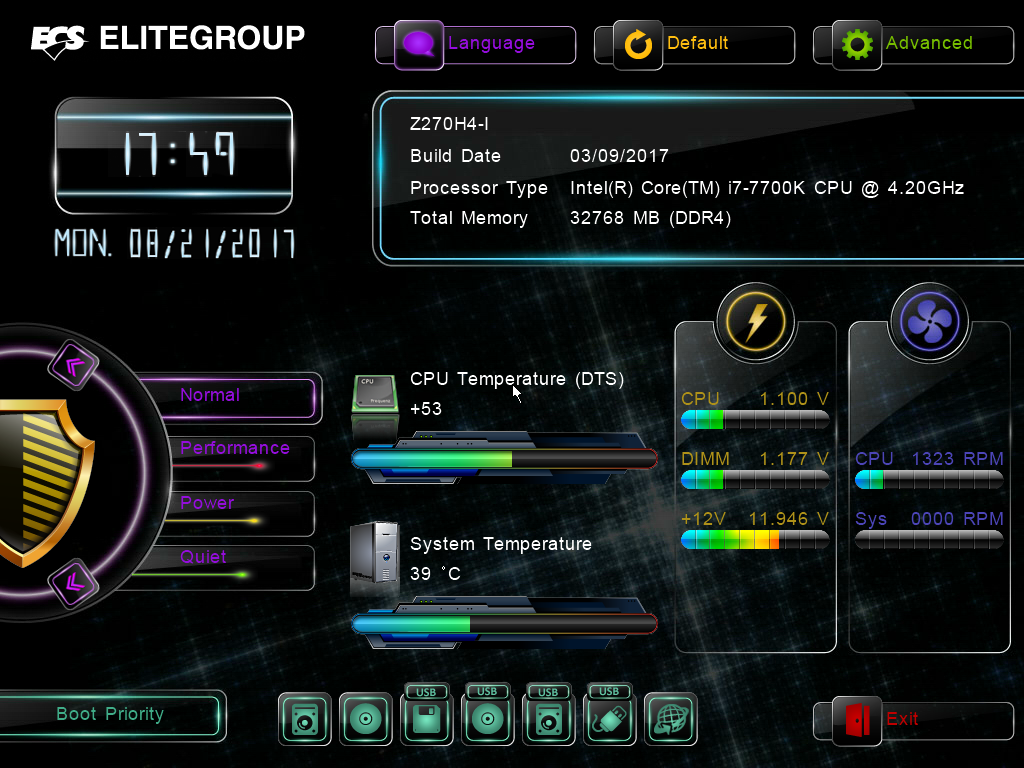
The ECS Z270H4-I Durathon 2 features a graphical BIOS which expectedly defaults in the “easy” mode. The “easy” mode allows the user to tweak only the boot device priority and select one of the pre-programmed performance profiles, with the rest of the display being of purely informative nature, graphically displaying the CPU and system temperature, CPU and system fan speeds, and CPU/DIMM/12V voltages.
In order to access more options and features, the user needs to go into the “Advanced” mode (F7). The advanced mode has eight menus but there are dozens of submenus hidden into some of them.


In the advanced mode, the screen is essentially split into three parts. The top bar displays the main menu selection, the left side of the screen lists the options and the right side of the screen displays a navigation legend and information on the highlighted option.
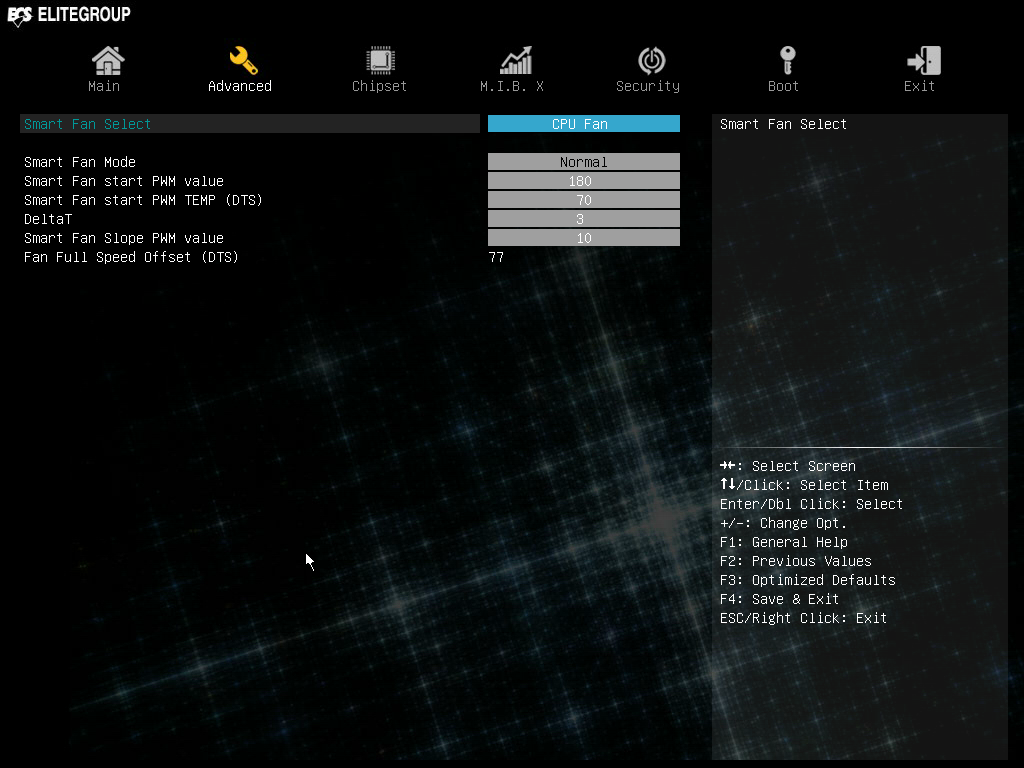
The first and default main menu option is the “Main” screen, which only has three tweakable options: the system’s language, the date and the time. A fourth line indicates the BIOS version. The “Advanced” menu lists nine submenus, with most of them being options related to the onboard controllers. One option that stands out is the “PC health status”, which is an informative screen that displays basic voltage and temperature information but also hides the “Smart Fan” controls and settings that would allow the user to manually control the speeds of the attached fans. This option would be much easier to find in the “M.I.B. X” menu, alongside with all frequency/timing/voltage controls.
The third main menu option brings up the “Chipset” screen, which only has three submenus with a few chipset-related options each. Strangely, we found the power state after power loss option in the “PCH configuration” submenu, an option that clearly should have been inside the “Power Management” submenu that we found in the previous screen.
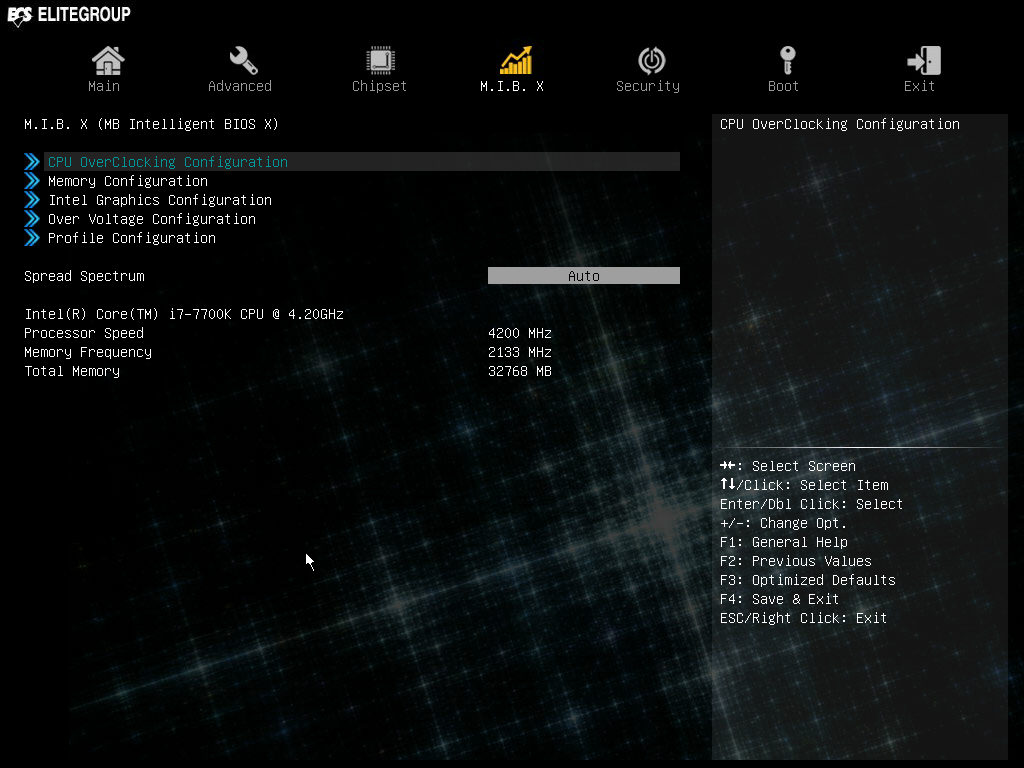
The fourth and most important main menu option is the “M.I.B. X”, which stands for “Motherboard Intelligent BIOS X”. This screen has five submenus that hide all of the motherboard’s frequency, timing, and voltage controls. We found the CPU frequency/ratio/power configuration options into the first submenu and made an interesting discovery: by default, the CPU power limits were overridden and its turbo ratios were set at 45× for the first core and 44× for the other three cores. Most manufacturers nowadays ship their motherboards with multi-core turbo enabled, but this is the first time that we have seen a manufacturer overriding the default power limits.
The “memory configuration” submenu also has a very long list of options, most of which are beyond the understanding of even experienced overclockers. Another very interesting submenu is the “over voltage configuration”, which holds few voltage control options that technically cover only the CPU and DIMM voltages. The range of these voltage settings is ridiculous, with the ECS Z270H4-I Durathon 2 being capable, in theory, to push the CPU voltage up to 2.5 volts. The step of these settings, however, is relatively large for their respective useful ranges. For example, the CPU voltage setting has a step of 50 mV, which is not great for advanced users that like to fine-tune their systems. Note that the BIOS adjusts the voltage settings live, meaning that the voltages change instantly when the user tweaks the options, making it exceptionally dangerous to fiddle with these settings without at least basic experience and/or lacking focus!
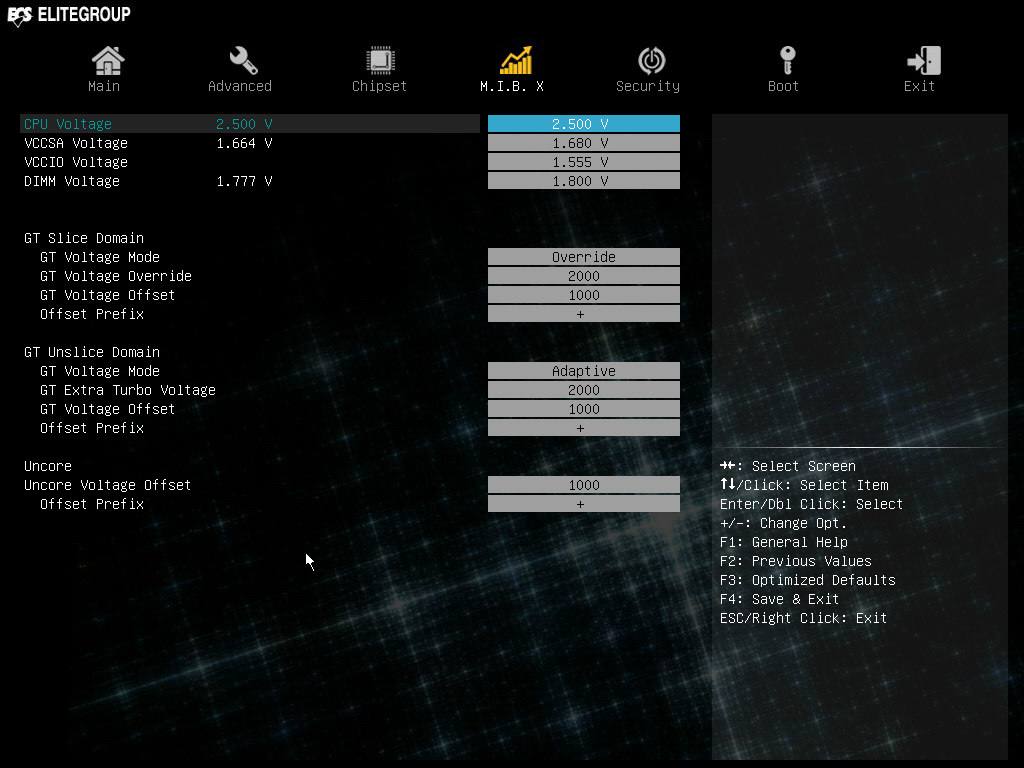
Settings are changed LIVE, so we didn't stay at 2.5V for long
The “Security” main menu lists options that we usually find into other menus/submenus. Here we found the administrator password settings, usually found under the “Main” or “System” menus, and the Secure Boot options that would most likely fit best into the next main menu option of this BIOS, the “Boot” menu, which lists all of the boot-related settings. We found out-of-place options even in the “Exit” screen, with the first being the trigger to switch the BIOS back to the easy mode, which should certainly be inside the “Main” menu and as the first option as well, allowing users that accidentally entered the advanced BIOS configuration to go back to the easy mode. The other option that we feel it should be moved is the “Boot Override” option, which would probably fit best into the “Boot” main menu, yet it restarts the system so we can understand why the BIOS’ programmer placed it here.
Software
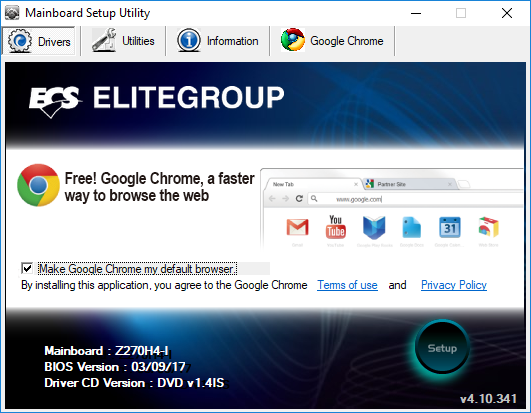
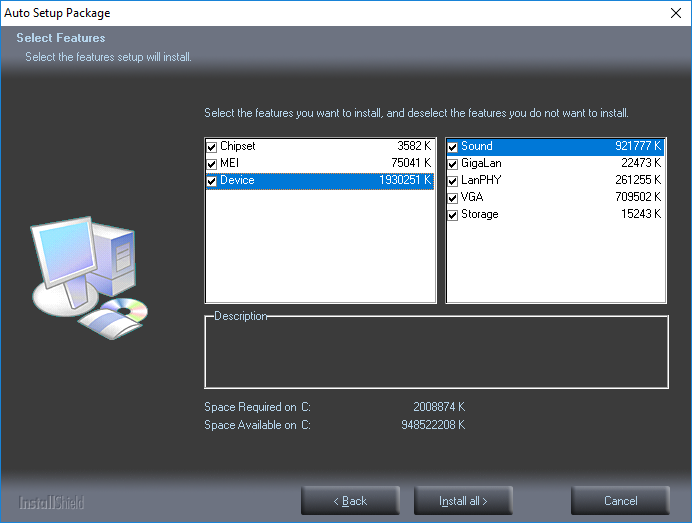
It seems that Google is aggressively promoting their products via all motherboard manufacturers nowadays, as we find the included driver’s DVDs pushing the users to install Chrome as their default browser. ECS’s disk is no different, with Google’s software pushing for an installation alongside the basic system drivers. There is no option to manually select only certain driver packages here, only a “setup” button that will bring up an installer for all of the system’s drivers. The user can select which drivers to install from inside the automated installer.
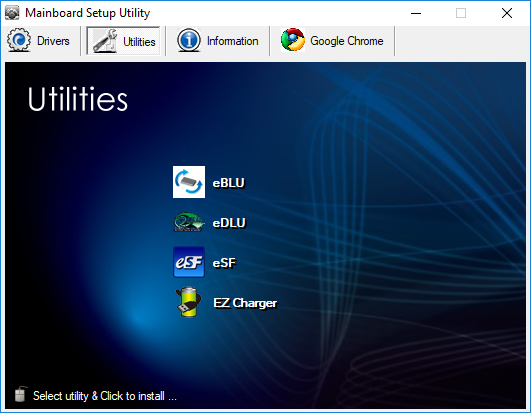
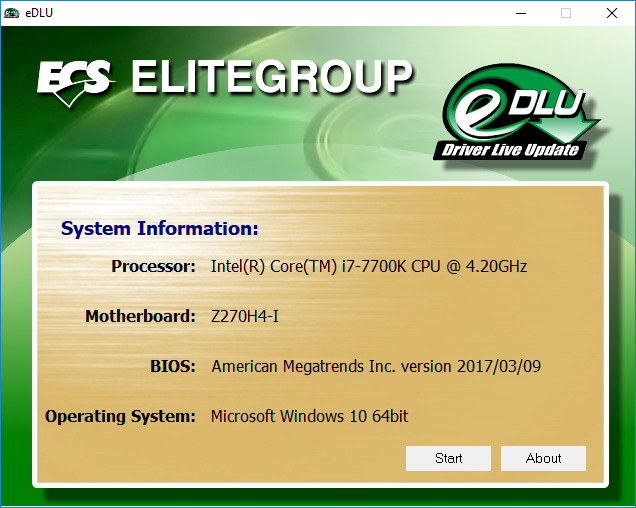
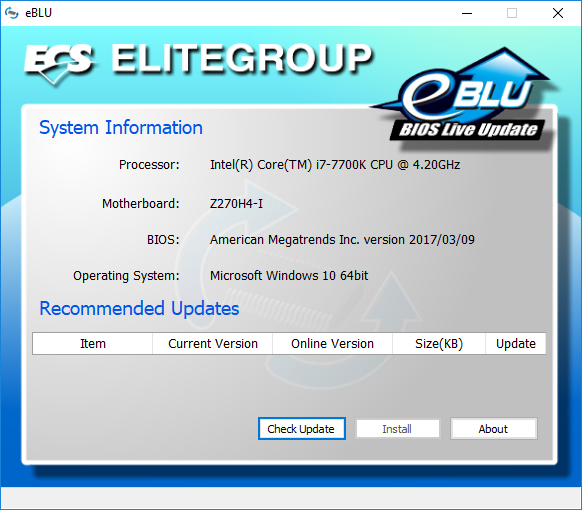
There are only three utilities included inside the DVD, the “eBLU”, “eDLU”, and “eSF”. The “eDLU” stands for “Driver Live Update” and is a simple utility that will check the versions of your drivers against those at the manufacturer’s website and, if there are newer versions available, install them. Similarly, the “eBLU” stands for “BIOS Live Update” and is a simple utility that checks for newer BIOS versions.
The third utility, the “eSF”, stands for “smart fan” and is a very simple utility that allows the user to control thermal control profiles for the two attached fans. There are four pre-programmed profiles, plus a custom setting that allows the user to manually control the fan spin up and down points. Note however that the axes do not have any tick labels, forcing the user to roughly guess the temperature points.


19 Comments
View All Comments
Hixbot - Wednesday, September 6, 2017 - link
Audiophilos are not going to use the DAC on a motherboard. They're going to use HDMI to their own DAC in the AVR.petteyg359 - Thursday, September 7, 2017 - link
With a name like that, I'm expecting a 462-pin socket for my old Durons and Athlons :)zodiacfml - Friday, September 8, 2017 - link
Nice enough for me. Are there any competing boards versus this one?Beaver M. - Friday, September 8, 2017 - link
Why would you not test temperatures and power usage of an ITX board?Instead performance benchmarks that always only show how useless they really are...
Beaver M. - Friday, September 8, 2017 - link
Nevermind, Im stupid. Theres power usage at least.Brianmmm - Monday, September 18, 2017 - link
This one is most assuredly NOT useless...http://www.anandtech.com/show/9854/asus-maximus-vi...
MenhirMike - Friday, September 8, 2017 - link
I have that board for my HTPC - it's pretty much the only board that combines Mini-ITX, Display Port out (for HDMI 2.0 since the HDMI on Kaby Lake is still only 1.4) and can be powered with just one (instead of 2) 4-Pin 12V connectors (for owners of some HTPC cases with power supplies that weren't made for higher end systems).The BIOS is pretty bare bones, but for the price, it's a great HTPC board, combined with a Celeron G3930 and 4 Gigs of RAM it's a good package.
MenhirMike - Friday, September 8, 2017 - link
(Also, since Antennas are part of the package, a $20 Intel 8260 WiFi/BT card is all that's needed to avoid having to use a PCIe or USB WiFi solution)EnFission - Friday, September 8, 2017 - link
You can plugin a 4 pin power cable into an 8 pin motherboard connector, you'll just have less power at your disposal. Not that it's a problem with a Celeron G3930. You'd be better off with an Asus Strix B250 board. It has DisplayPort, built-in wifi so you don't have to pay even more, retails for the same price as this ECS board, and is from a much more reputable manufacturer with higher quality parts. Losing out on the Z270 chipset doesn't matter because of your CPU choice and the lack of an 8 pin power connector.