Gigabyte Z77X-UP4 TH Review: Thunderbolt Times Two
by Ian Cutress on September 17, 2012 11:00 AM EST- Posted in
- Motherboards
- Gigabyte
- Z77
- thunder
Gigabyte Z77X-UP4 TH BIOS
We have tackled Gigabyte’s 3D BIOS several times over the past few months. It used to be slow and dim-witted, with slow transitions and a distinct lack of organization. Since then, the Z77 BIOSes has been improved in terms of speed and feel, to something more-or-less useable. There are still some niggles to contend with – no serious explanation of features, the 3D BIOS mode could be improved a whole lot, and overclocking options are still hap-hazard. If our words are being considered by Gigabyte, then perhaps there an update soon would alleviate some of these issues.
Gigabyte still has a couple of issues that need greater attention though. It seems hit and miss if a BIOS affects our DPC Latency test, which is a good indication of audio responsiveness – sometimes a Gigabyte BIOS, in combination with EasyTune6’s hardware monitor, will cause DPC latency to rise to 1000+ microseconds. Typically a value below 200 is preferred, and it is fixed on some BIOSes and models, but it was not fixed for our testing. One other point of contention is the manipulation of the reported voltages of the CPU from BIOS to OS. Whenever a voltage was set manually in the BIOS, e.g. 1.200 volts, the software in the OS would read the save value no matter the setting at load – 1.068 volts. This indicates that at some level the value is either not being passed to the OS or is being manipulated by the firmware. This needs to be updated ASAP.
The BIOS system itself starts with the 3D BIOS mode, as shown below:
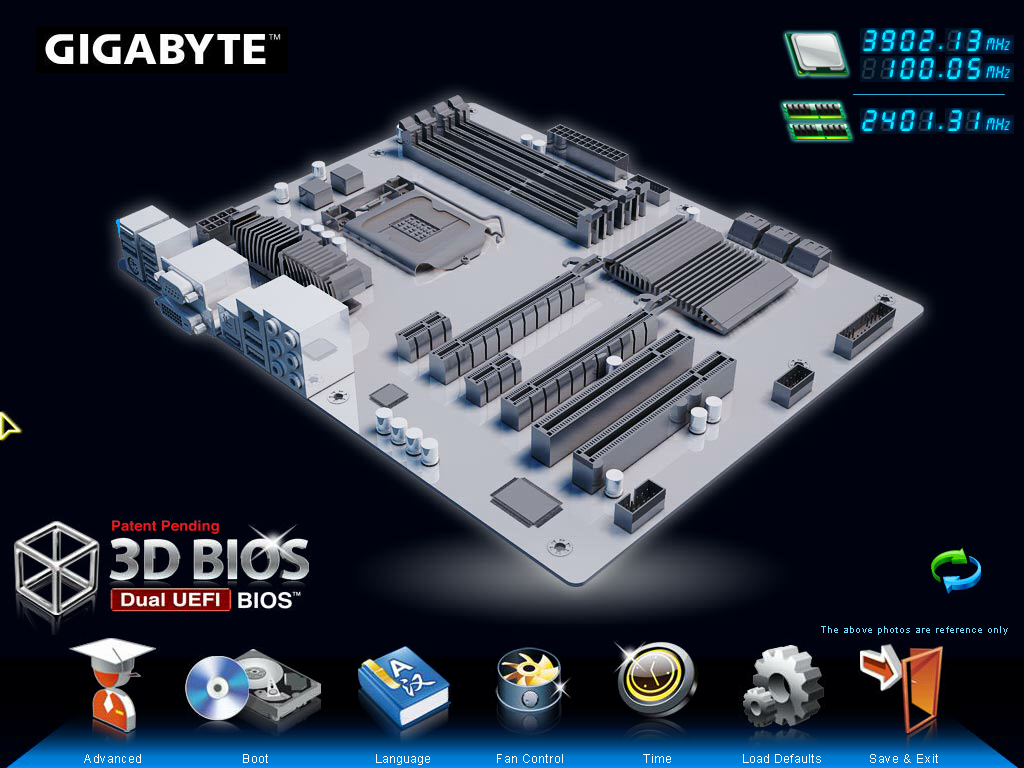
On the screen is an oblique angle image of a motherboard. The actual layout of the motherboard in the image does not always reflect the motherboard in question – Gigabyte use a generic image per chipset and per motherboard size. The important areas are those that are clickable, such as the CPU socket, the memory, the PCIe slots, the chipset, the SATA ports and the IO panel. Each one offers a small selection of the full blown settings. While this is useful from a ‘quick’ perspective, as I have mentioned on previous Gigabyte reviews, if I asked a family member who is not au fait with motherboard terminology to ‘go change the SATA settings in the BIOS’, they would not have a clue just looking at the image. This leads to my previous suggestion of hover tool-tips when the mouse is over certain elements.
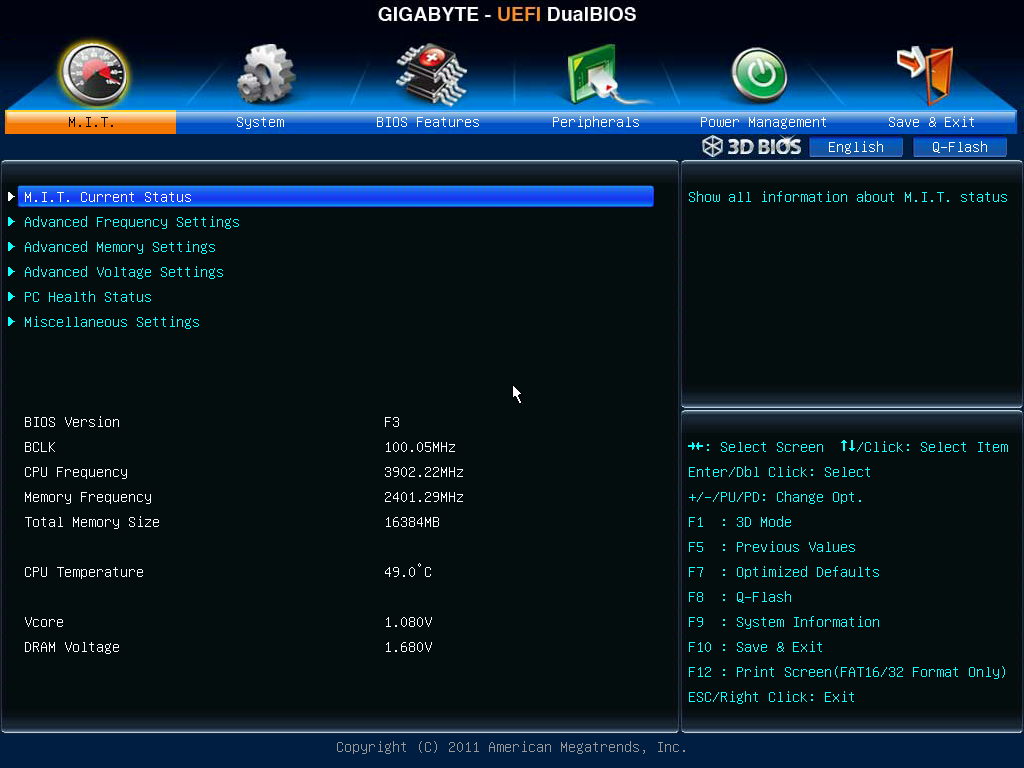
What irks me more is the lack of detailed information when we go into the BIOS. Nothing indicates us to which motherboard is installed, which CPU is present, how much memory there is, temperatures, voltages or fan speeds. Each of these is vital for a system builder or to diagnose faults. Instead we have to navigate to the advanced menu for this; however it should be available of the bat.
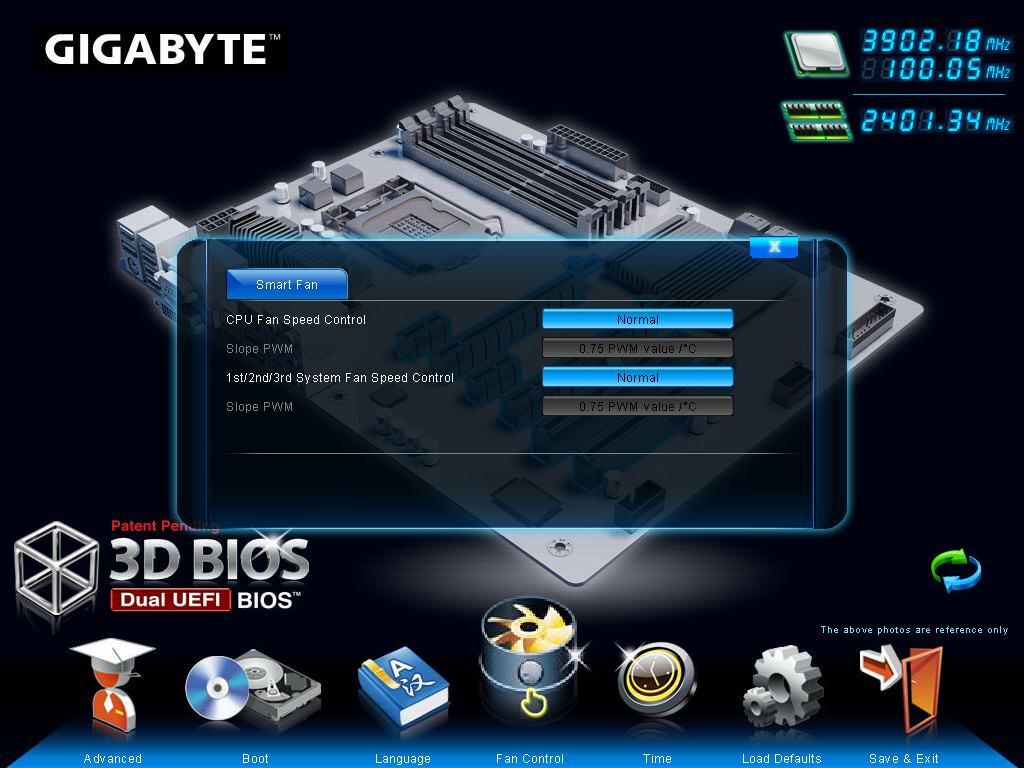
Also in this ‘3D BIOS’ mode, we get options to change the language of the BIOS, the boot order of the devices currently connected and the fan controls. The fan controls have been a regular contentious issue, as Gigabyte only offer settings in terms of PWM values / °C rather than fan % or RPM values. It should not be too hard to knock up some form of advanced fan control if you have access to temperatures, fan speeds, and can control the PWM values, however no thought was applied despite there being a wealth of potential.
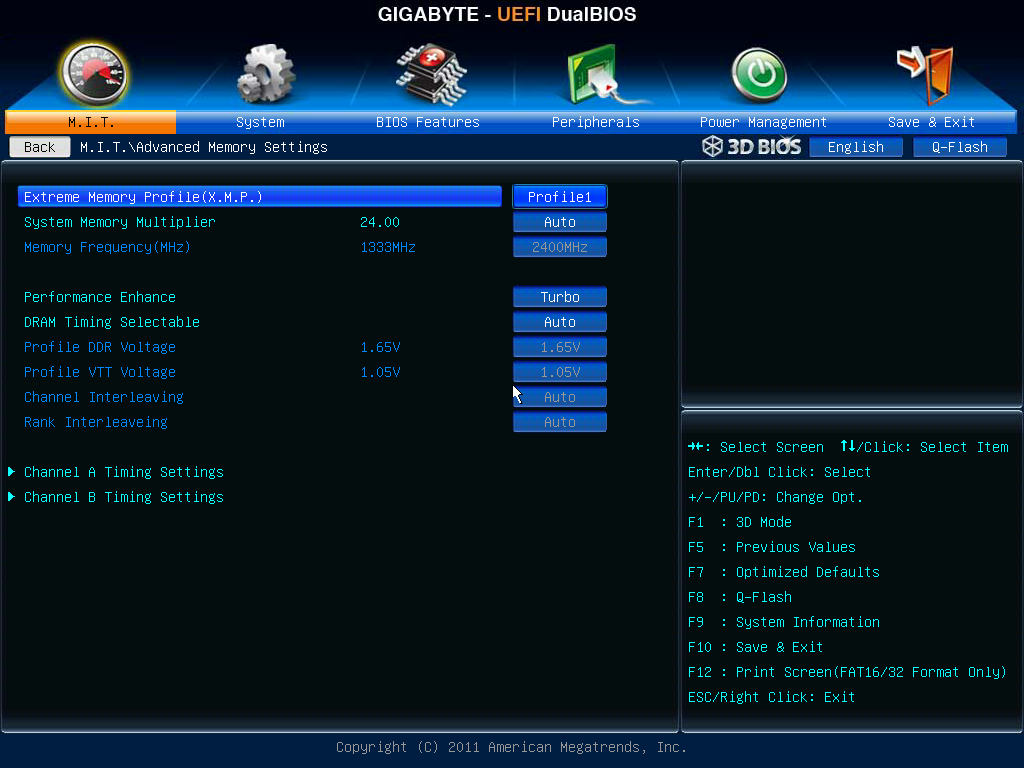
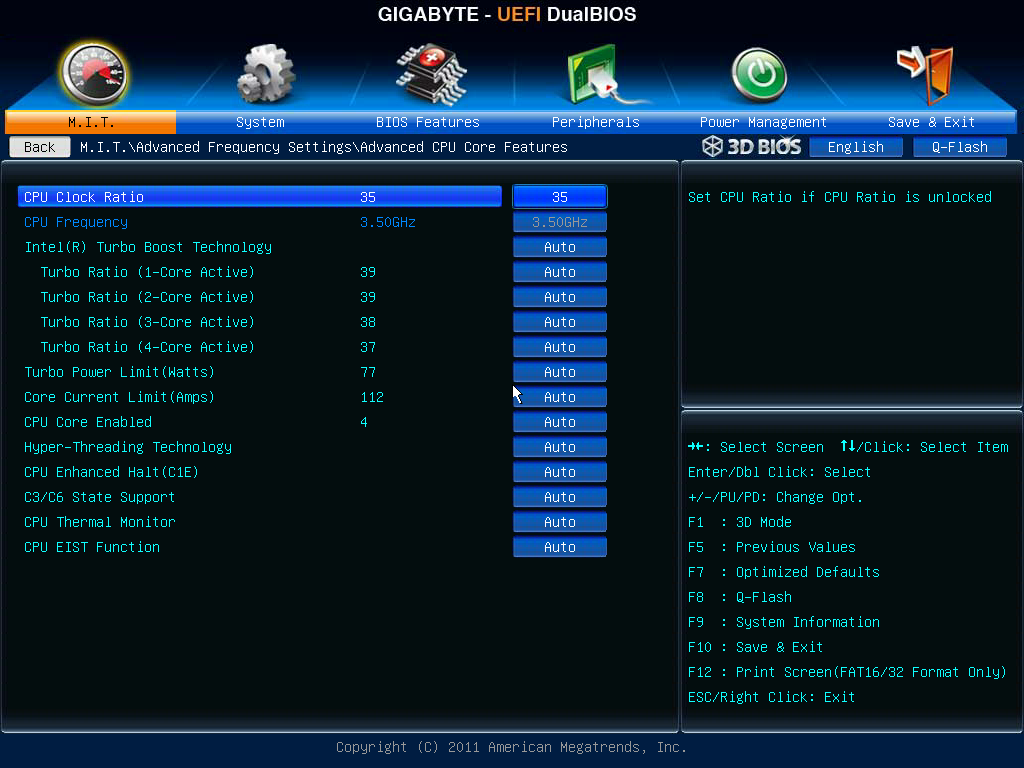
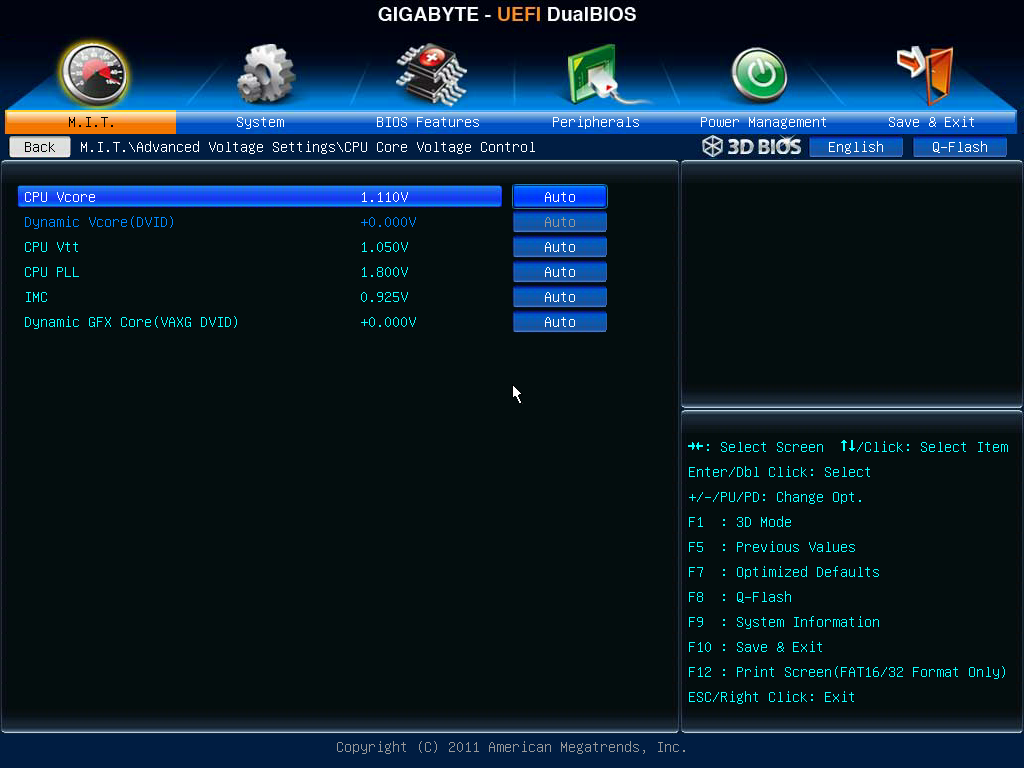
The Advanced menu takes us into the hub of overclocking settings, designated M.I.T. This section gives us menu options for CPU speed control, power calibration settings, memory settings and voltage settings. Although from a navigation perspective, it is a clumsily laid out, with CPU speed, CPU voltage and CPU Load Line Calibration all being in different menu settings. It would have been easier to group the important options into a separate new menu and still keep the old layout. Despite this, we got very good manual overclocking results, hitting 4.8 GHz at 1.300 volts.

Options to enable and disable controllers are found in the Peripherals menu, including all options related to Thunderbolt.


15 Comments
View All Comments
IanCutress - Monday, September 17, 2012 - link
I have access to a TB device, but it is only the two-bay Little Big disk with a pair of Intel Drives. Can't really stress the TB implementation in terms of peak speeds, and in our copy test it can get anything from 1.1 seconds to 3.3 seconds depending on if the wind is blowing, or the tides are in (very unpredictable).When I can get a 4-bay TB device in, I will fill it with 500MB/s+ SSDs and get down to testing. Unless there is a specific test you would like me to do (4K et al).
Ian
repoman27 - Monday, September 17, 2012 - link
I am very curious about a couple points, however they are not the easiest scenarios to test.Firstly, GIGABYTE depicts the ability to support a total of 12 connected Thunderbolt devices plus 2 displays, or 6 devices AND 1 display per port. [ http://www.gigabyte.com/microsite/306/images/thund... ] This seems to fly in the face of what we have been told by Apple and Intel about supported topologies, i.e. "up to a total of 6 devices, including up to 2 high resolution DisplayPort v1.1a displays". Can a single Cactus Ridge DSL3510L really handle that many devices? Is there some difference in implementation between Windows and Mac OS?
GIGABYTE also claims a full 10 Gbps of PCIe bandwidth from each port. Now I would also doubt that claim, and in the article you indicated this wasn't happening with a single DSL3510L. However, Anand achieved 1380 MB/s by using both Thunderbolt ports during his review of the MBPR, which also uses just one DSL3510L controller. Now ultimately this controller is bound by its PCIe 2.0 x4 back end, which should limit it to around 1600 MB/s of payload throughput, but breaking the 1000 MB/s barrier would seem to imply that there is more than one PCIe to Thunderbolt protocol adapter in these Cactus Ridge chips. This would be significant if true. Any chance you could lean on it hard enough to find out?
goinginstyle - Monday, September 17, 2012 - link
I agree about the need for TB testing as I have had nothing but issues with this board and a Seagate GoFlex attached on one port and a Apple TB 27" monitor on the other port. The monitor will flicker badly at times (does not happen on a competing board and a MacBook Pro) while the Seagate drive will "disappear" and requires a power on/off before being recognized again.thewhat - Tuesday, September 18, 2012 - link
It would be great if you could test with Speedfan whether the fan speed can be controlled independently for every header.NiggaASD - Sunday, December 9, 2012 - link
Ian, I think you are wrong about Gigabyte manipulating CPU voltage readings. The voltage reading 1.068 V is probably not CPU vcore, it could be VTT(VCCIO) voltage. It is known that some GB motherboards have this "feature", that they show VTT voltage in CPU-Z. For example, my GA-P67A-UD3P-B3 board shows 1.092 V in CPU-Z as vcore when I have set VTT to 1.1 V in BIOS.