Gigabyte GA-Z77MX-D3H Review – Z77 and MicroATX
by Ian Cutress on May 24, 2012 3:00 PM EST- Posted in
- Motherboards
- Gigabyte
- Z77
Gigabyte GA-Z77MX-D3H BIOS
When a reviewer gets a board in, especially before release, it often comes with a preview BIOS that is not linked to a full retail BIOS. So when it comes time to test the board, the reviewer has several options - test the BIOS the board came with, test the release BIOS, test the latest BIOS, or ask the manufacturer for their internal beta BIOS. With each different version comes inherent stability changes, CPU microcode changes, or fixes to the system. In the grand scheme of things, there are also two classes of user - OEM/pre-built users who may never touch or update a BIOS at all, or enthusiasts who don't mind getting their hands dirty. Therefore it becomes quite a task for a motherboard reviewer to satisfy everyone in this regard.
With the Gigabyte GA-Z77MX-D3H, I was shipped with BIOS F5, however the earliest one available online was BIOS F9. Using the Gigabyte @BIOS software to update the BIOS, it pulled F9 from the servers. However, navigating to the website gave me access to BIOS F10, which is what I used for this review. The F10 BIOS supposedly updates the board to accept Xeon E5-12xx processors, if that is your flavor. Initially BIOS F5 went straight into advanced mode, but BIOS F10 jumps us into 3D BIOS mode on boot:
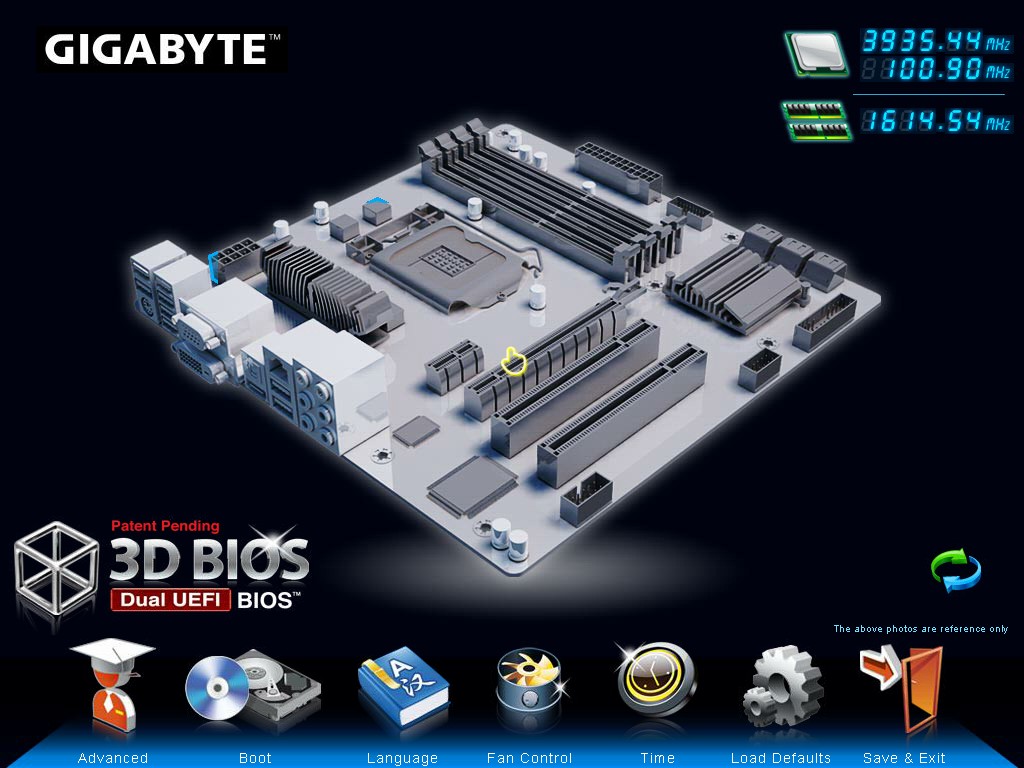
Gigabyte uses a semi-generic picture depending on the model you have, meaning that it may not display the correct or exact number of PCIe slots, but this is just a visual layer over all the settings that are specific to the board. As a front screen, it does will in giving the CPU and memory speed, but I would have liked actual words stating the board model, the CPU model, and perhaps some temperatures, voltages and fan speeds. Upon clicking any of the highlighted areas in the 3D BIOS screen, other menus pop up with options respective of that section (CPU brings up CPU speed offerings), as well as a side menu on the right:
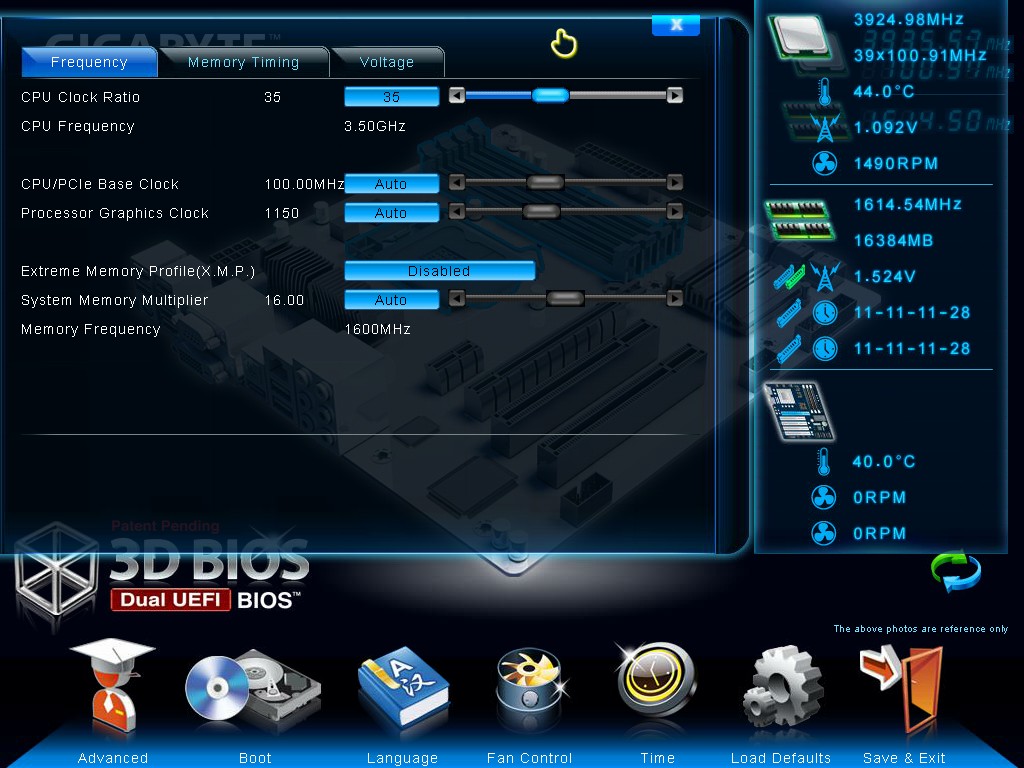
The side menu contains more of what we want to know, and I think this would be better served on the main screen with the board affixed on the right hand side. It shows temperatures, voltages, memory subtimings and fan speeds.
From the 3D BIOS screen, all the main areas are clickable for users who want to visualize what part of the board they are changing. There are also options to modify the boot order, change the language and adjust the fan speed settings (more later).
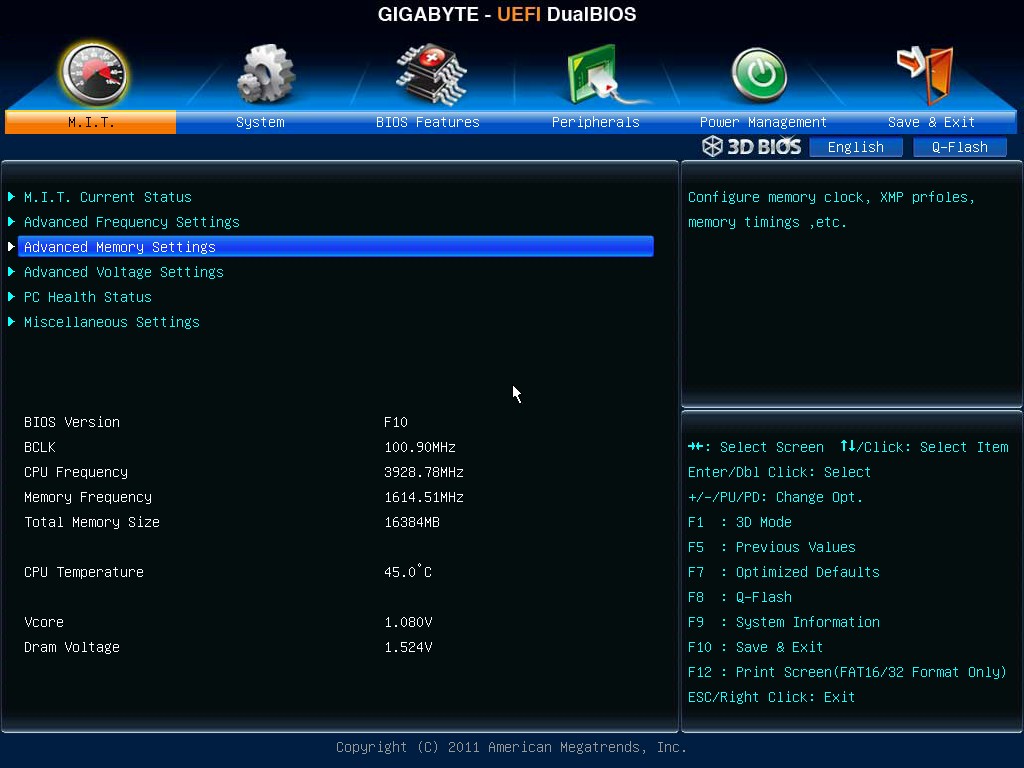
By clicking Advanced, we move more into a menu system to which users of other BIOSes will feel more comfortable. The first screen in Advanced is designated M.I.T (Motherboard Intelligent Tweaker[?]), and shows the BIOS version as well as important speeds of the CPU and memory.
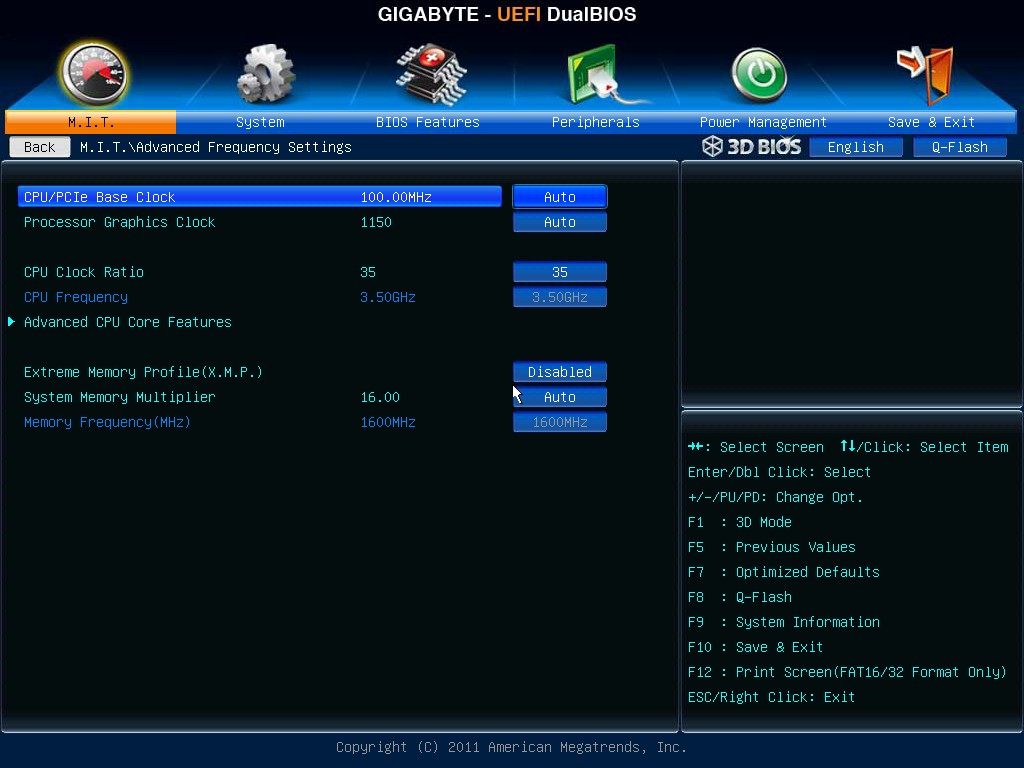
Overclocking options in a Gigabyte BIOS are slightly haphazard. Adjusting speeds of the CPU and memory are relatively straightforward in the Advanced Frequency Settings menu, however the voltages and LLC (Load Line Calibration) settings are a little trickier.
CPU voltage is kept in the MIT -> Advanced Voltage -> CPU Core Voltage Control menu, LLC settings are in the MIT -> Advanced Voltage -> 3D Power Control menu and DRAM voltages are kept in the MIT -> Advanced Voltage -> DRAM Voltage Control menu. It seems a lot of hassle to adjust these in individual screens then go back and adjust the CPU/memory speeds or having to navigate back in case of a missed setting. It would be more helpful to have many of the relevant options on one screen, nicely arranged into CPU / Memory / Power. It should not be that hard to do.
Another feature worth mentioning about the BIOS is the fan controls, located in the MIT -> PC Health Status menu.
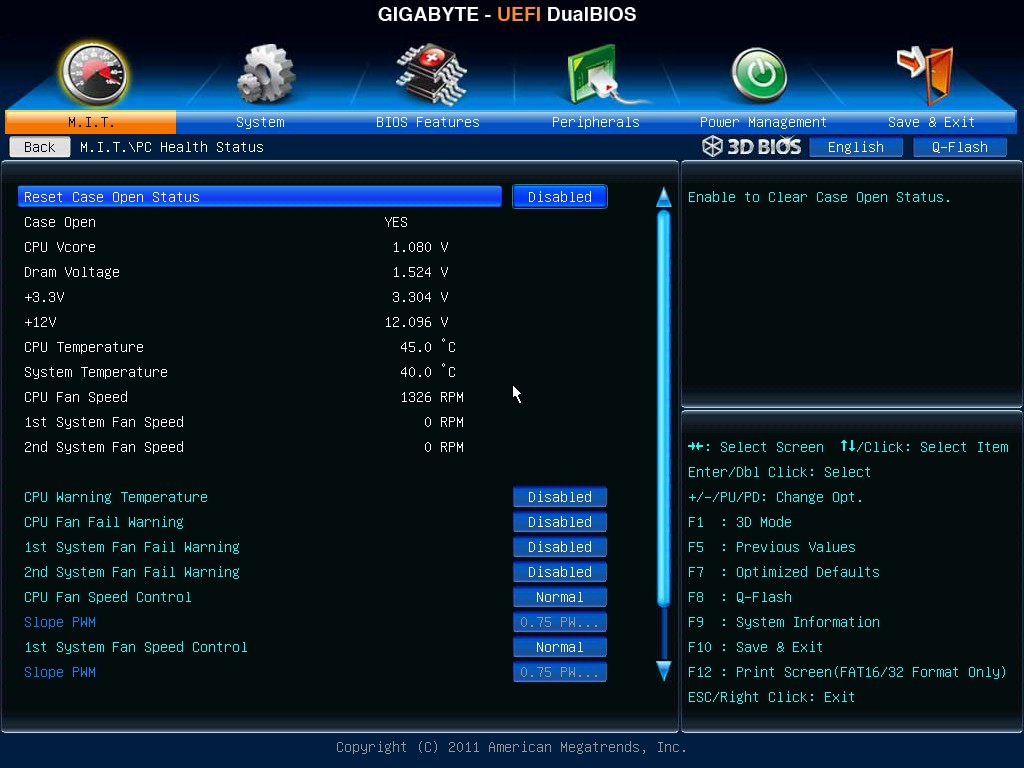
For a long time I have been a big critic of Gigabyte fan controls. Over successive chipset generations, the implementation from Gigabyte does not even come close to that of its primary rival, especially when they implement it in a manner such as what they do on Z77. The fan headers to which the user has control over can be used either in terms of a preset option (Silent, Turbo) or in a manual mode. The manual mode offers settings in terms of 'PWM value / ºC', which for most users will have no meaning apart from 'more means more power to the fans'. There is no opportunity in the BIOS to set a temperature slope, a minimum temperature barrier for fans to kick in or a maximum temperature to put fans on full. In order to get higher praise from reviewers and users, it might be worth Gigabyte looking into different fan solutions for their products.


Software
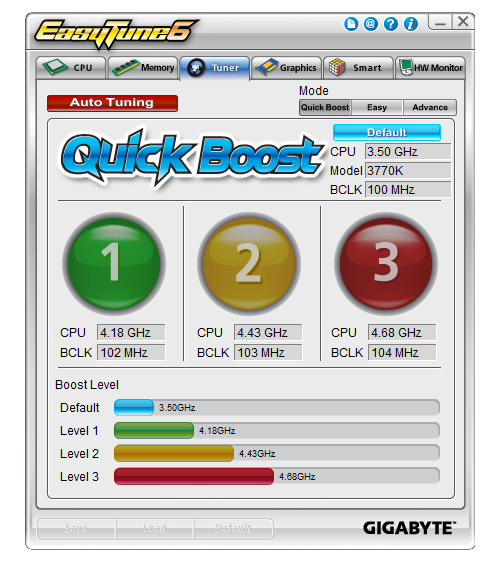
Compared to other vendors, Gigabyte has not always been the best on the software front. For the past few generations the main software has come in the form of EasyTune6, a pseudo all-in-one package for software needs in a system. This includes overclocking, fan controls, voltage/temperature monitoring and relevant CPU and memory information.
I should point out that the ET6 software on the Install CD did not recognize one of the board or CPU, meaning that it did not offer a range of overclocks. Using the automatic update system (the blue @ symbol at the top), an updated version of the software downloaded, but refused to update ET6. In the end, I had to uninstall ET6, and then update with a fresh download from the Gigabyte website.
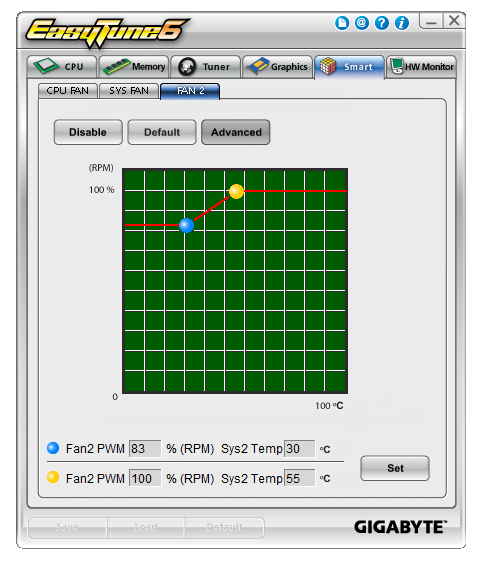
Apart from the overclock section, the auto tuning option is also available similar to the Z77X-UD3H. In terms of fan controls, we again have the very limited array of options that Gigabyte offers. Controllable fan headers are given a simple two value ramp selection, with a minimum temperature/fan speed and maximum temperature/fan speed.
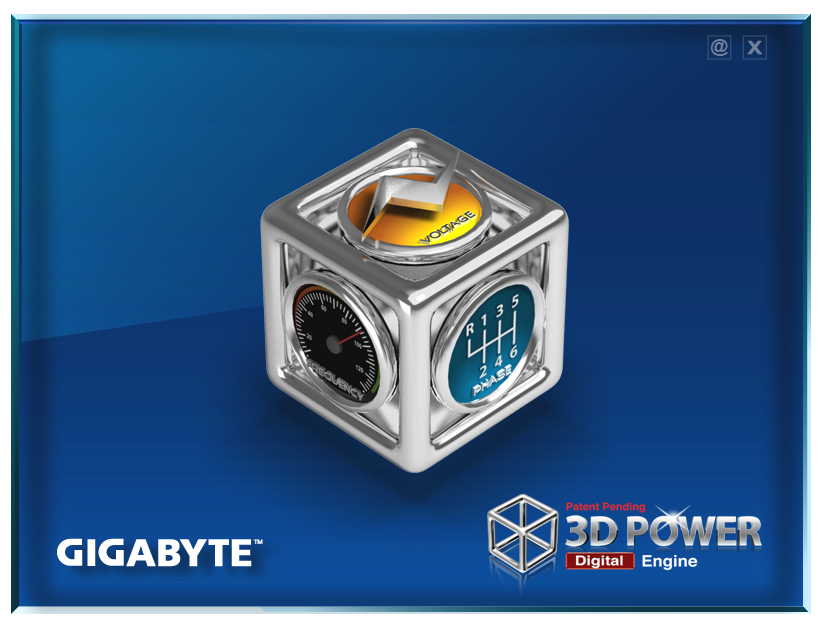
Another element of the Gigabyte software is the 3D Power utility. This is essentially a showcase bit of software, demonstrating that someone at Gigabyte can use a fancy set of 3D tools to make an interface that controls the power delivery settings. Unfortunately, this software fails a little on two fronts. Firstly, 99% of people will not use it, and secondly it is a little unstable to be used for overclockers. Ideally, these settings should have been meshed in with EasyTune6 under another tab. As 3D Power stands, it feels slow, laggy, and the animations are not exactly the smoothest.
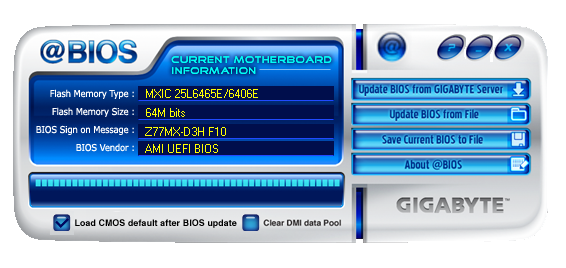
@BIOS is the other mainstay of the Gigabyte suite, offering users and easy interface to probe online servers for BIOS updates.


25 Comments
View All Comments
Soulkeeper - Thursday, May 24, 2012 - link
I like gigabyte, nice review.However, those temperatures for the IB overclock remind me of prescott for some reason.
Night201 - Thursday, May 24, 2012 - link
Works great. Running it with an Ivy Bridge i5-3450 with 8GB RAM and an older 8800gt GPU.Iketh - Thursday, May 24, 2012 - link
Aren't those asrock computation results interesting. The board requires the least volts for your stress tests, yet it appears this is because the board isn't allowing the CPU to stretch its legs.zero2dash - Thursday, May 24, 2012 - link
Looks like an even better board than the GB, and it looks like there might be more clearance for the front panel headers even with a 2nd GPU installed.tuxRoller - Thursday, May 24, 2012 - link
Can you confirm that F10 supports ecc ram?Thanks/liam
milkod2001 - Thursday, May 24, 2012 - link
are u guys planning to review: Gigabyte Z77X-UD5H?Would love to see how much better it's compared to mobo u've just reviewed and how it stands against ASUS and MSI offerings
xeers
IanCutress - Thursday, July 12, 2012 - link
We have one in, plan to review it at some point amongst all the others :)Ian
Patflute - Thursday, May 24, 2012 - link
Interesting right?Patflute - Thursday, May 24, 2012 - link
Oh its not the exact samectbaars - Thursday, May 24, 2012 - link
1 x 8-pin 12V connector (In spec table) or 1 x 4-pin 12V connector (In photo)and does it really matter / have any effect on power delivery for CPU or SLI/Xfire anyway?