Promise Pegasus R6 & Mac Thunderbolt Review
by Anand Lal Shimpi on July 8, 2011 2:01 AM ESTThe Pegasus: Hardware
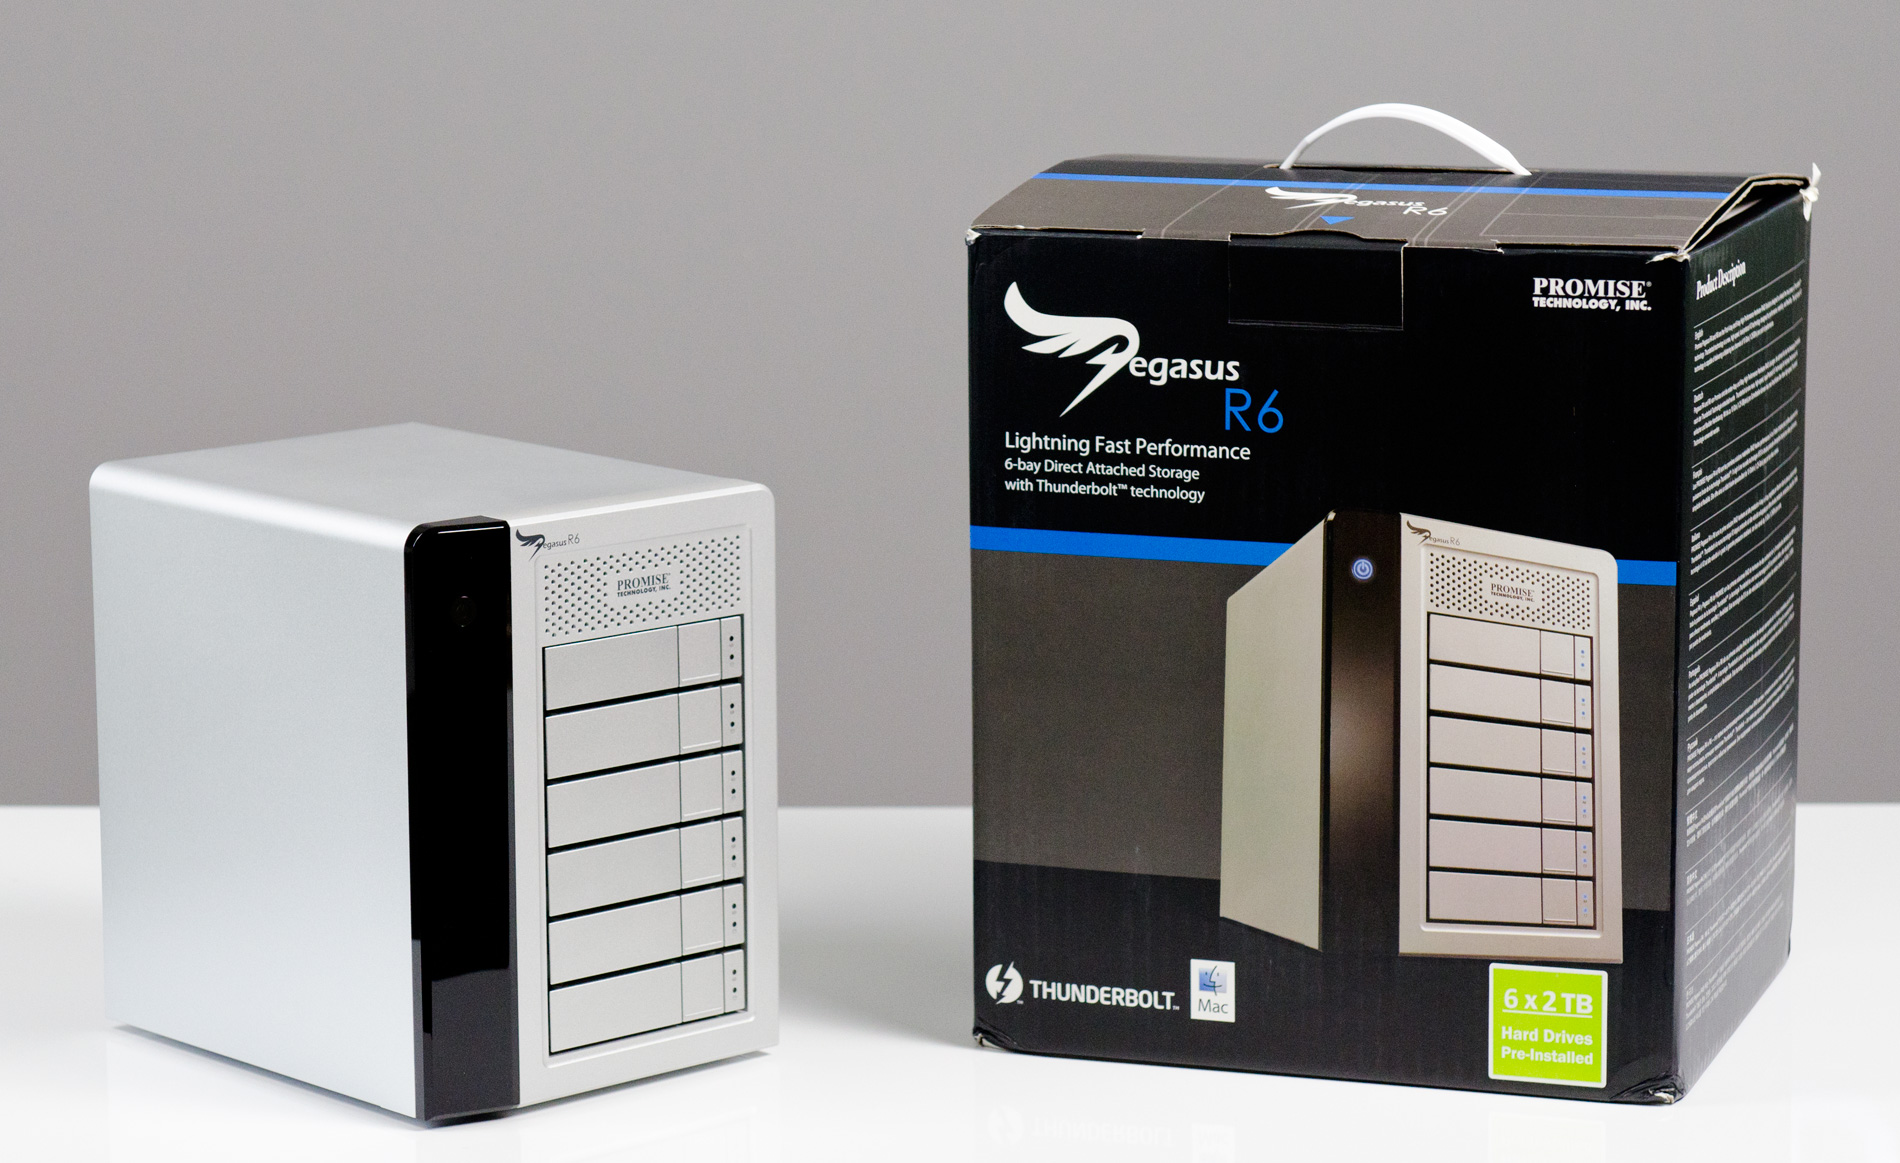
Promise offers two versions of the Pegasus: the R4 and R6. The names are easy enough to understand, they simply refer to the number of drive bays. Through Apple you can buy any of four configurations:
| Promise Pegasus Lineup | ||||||
| # of Bays | Drive Configuration | Default Capacity | Price | |||
| Promise Pegasus R4 4TB | 4 | 4 x 1TB RAID-5 | 2.7TB | $999 | ||
| Promise Pegasus R4 8TB | 4 | 4 x 2TB RAID-5 | 5.7TB | $1499 | ||
| Promise Pegasus R6 6TB | 6 | 6 x 1TB RAID-5 | 4.7TB | $1499 | ||
| Promise Pegasus R6 12TB | 6 | 6 x 2TB RAID-5 | 9.7TB | $1999 | ||
All of the configs ship with 3.5" 7200RPM hard drives and are configured as a single RAID-5 array by default, although Pegasus supports most of the common RAID formats (RAID 0/1/5/50/6/10).
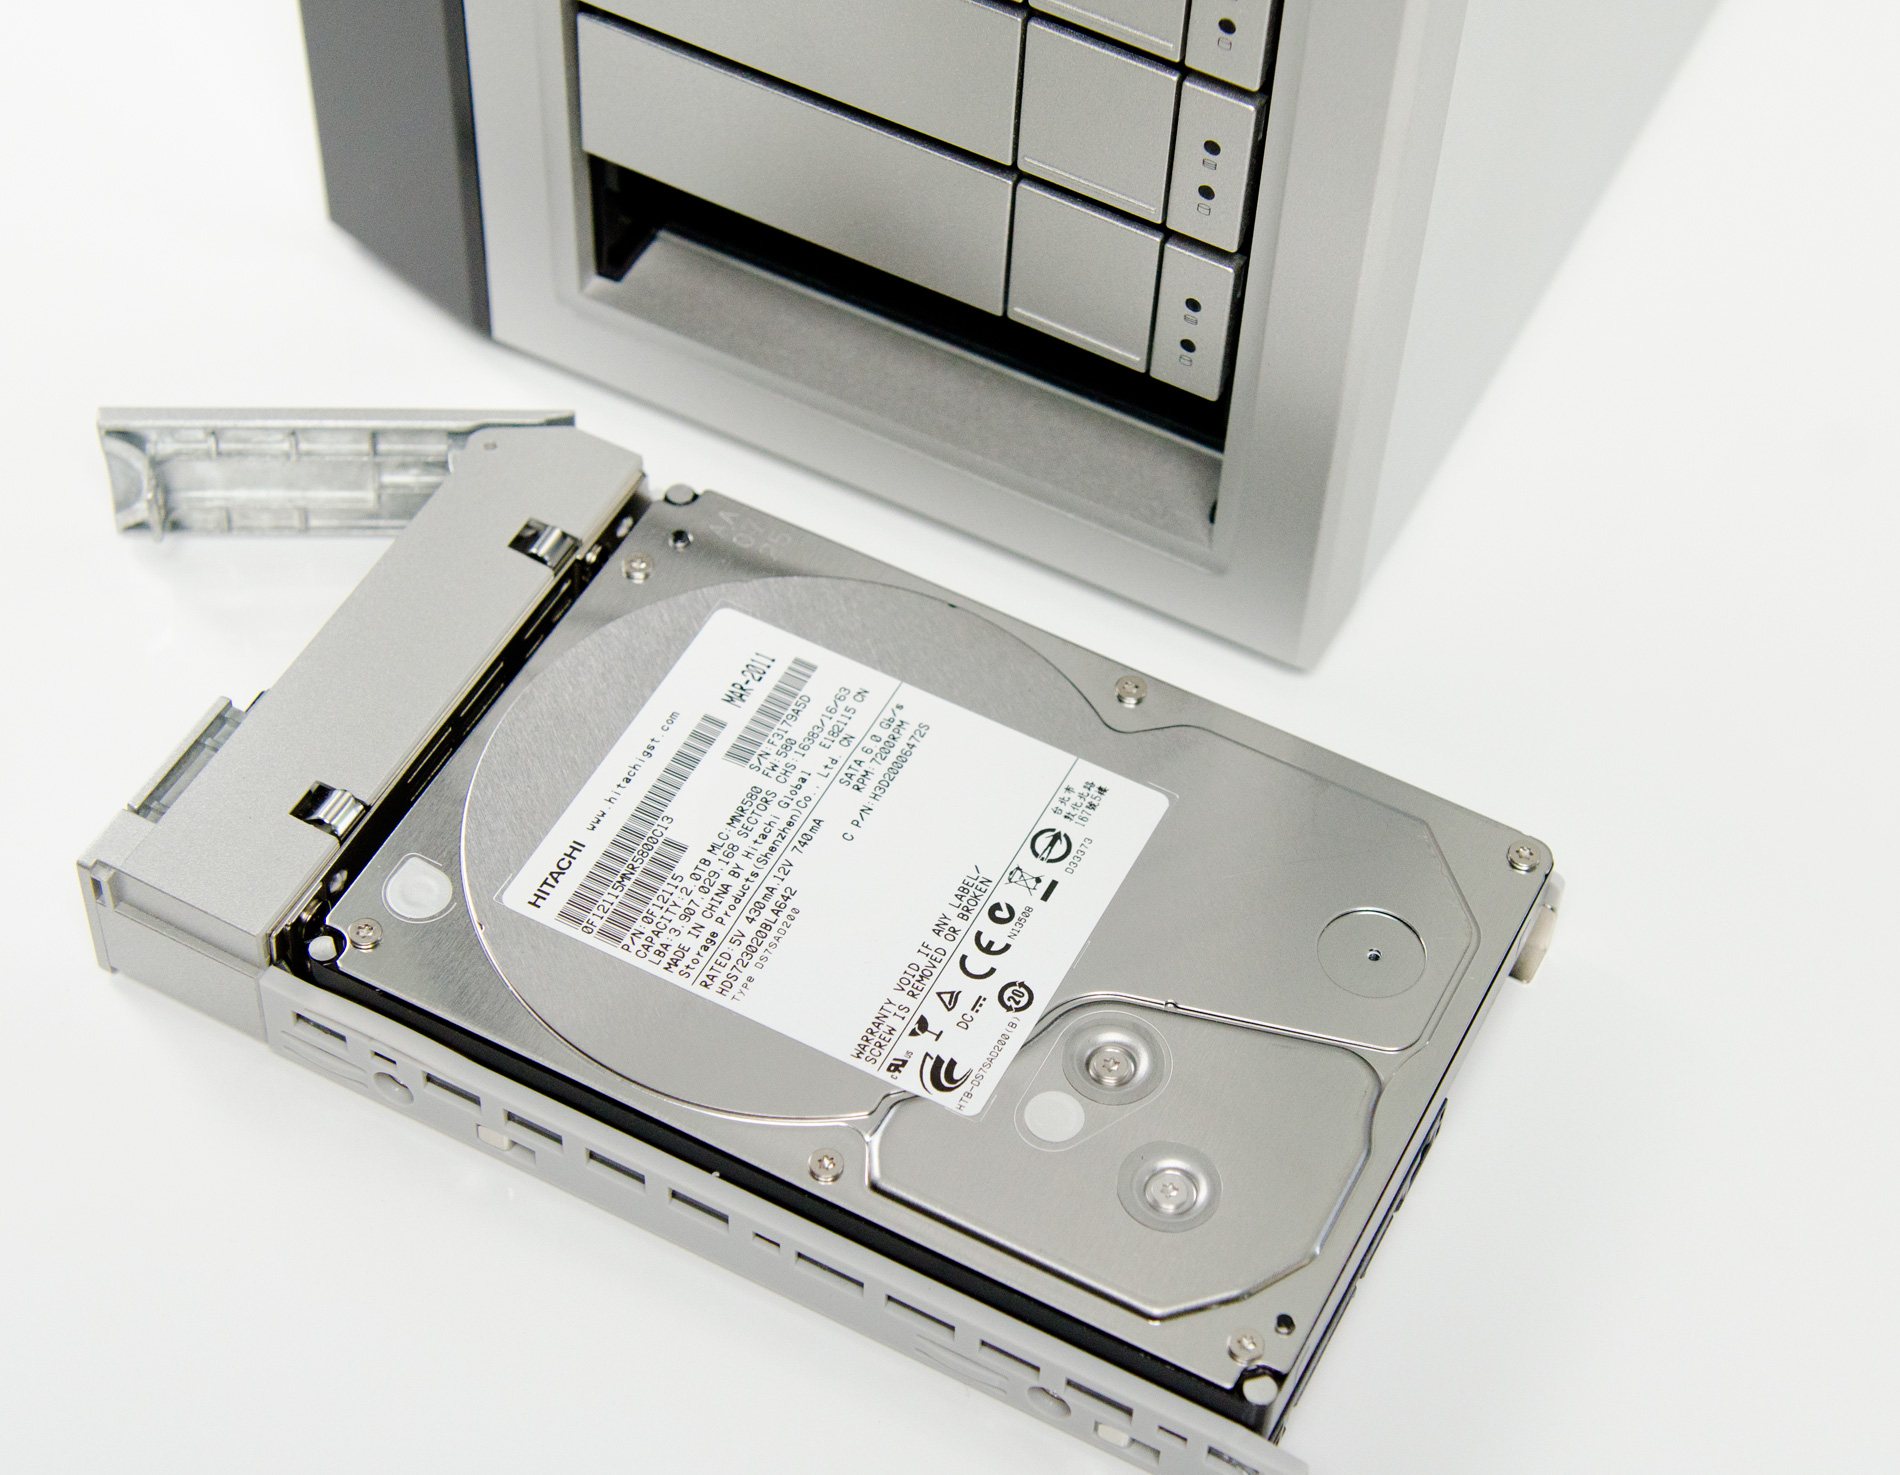
The 12TB Pegasus R6 we received for review came with 6 x 2TB Hitachi Deskstar 7K3000 drives. These are four platter drives with 64MB buffers. I did try installing Seagate 3TB drives and SandForce SF-2281 SSDs in the system, both of which worked. I did run into some reliability issues with the Pegasus R6 configured with 4 x SF-2281 SSDs, however it's unclear whether they were caused by the drives themselves, the Pegasus or a combination of the two.
Internally Promise uses a PMC Sierra PM8011 8-port SAS-2 RAID controller. This is an 8-lane PCIe Gen 2 controller with eight SAS/SATA 6Gbps ports. On the R6 obviously only six of those ports are functional. The PM8011 has an embedded 600MHz MIPS processor and is paired with 512MB of DDR2-533.
The Pegasus chassis is made out of aluminum, similar to the unibody MacBook Pro and iMac but not quite identical. The color is a bit lighter with a more coarse grain. The metal construction combined with the six 3.5" drives gives the Pegasus R6 its 20.4 lbs weight (the R4 weighs in at around 15 lbs).
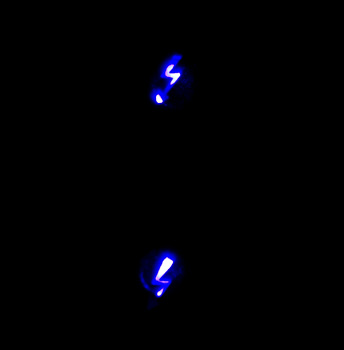
The front of the chassis is pretty clean. The glossy black strip on the left of the unit is home to the power button and the two Thunderbolt indicators. There are two Thunderbolt ports on the Pegasus, one connects to your Mac while the other connects to any other DisplayPort/Thunderbolt devices in the chain. Occupy a single port and one indicator lights up, occupy both and you get two:
The power button burns blue when everything is functional, orange during startup and red if there's a problem with the array. Powering down the Pegasus requires that you hold the power button for ~10 seconds until the button glows red then release in order to avoid any accidental shutdowns.
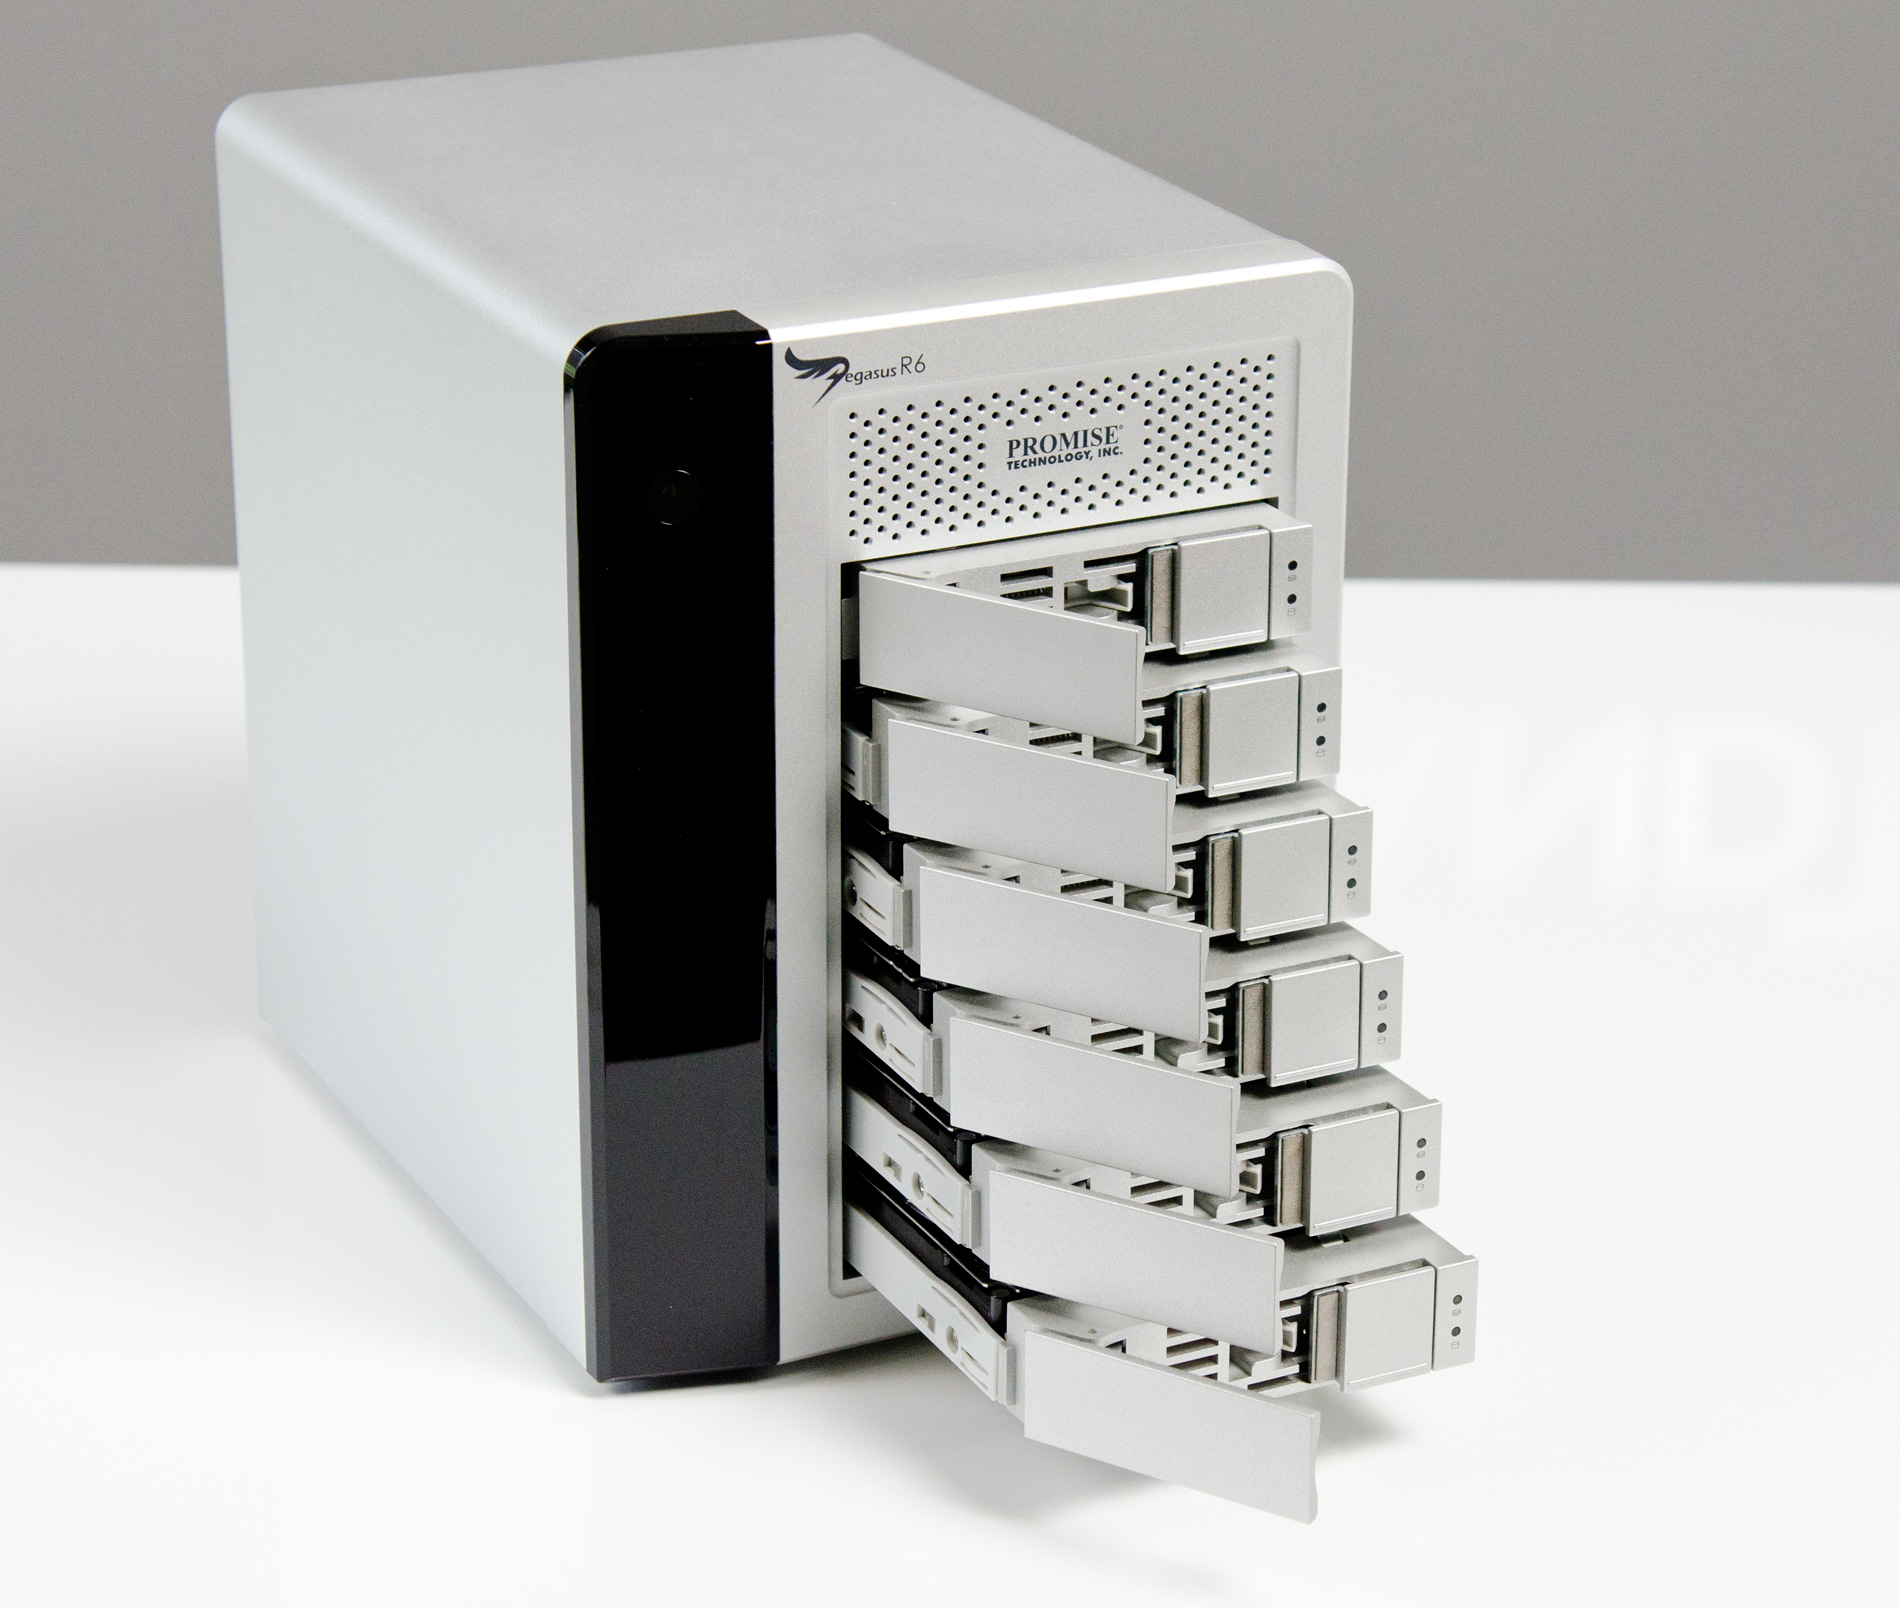
The R6 has six removable 3.5" drive bays that accept 2.5" drives as well. The screws Promise provides with the Pegasus are too large for SSDs so you'll have to supply your own if you want to replace the HDDs with SSDs down the road.

Ejecting and inserting the Pegasus' drives is incredibly smooth. There's a large square eject button on the front of each drive carrier - depress it and the handle pops out. Pull on the handle and the drives slide out perfectly. There's surprisingly little resistance to inserting the drives completely, the entire motion is just very fluid.
Each carrier has two LEDs - status and activity. Blue indicates proper operation while red indicates a problem.
The Pegasus' on-board RAID controller doesn't care about the order in which you install drives for a single array (e.g. you can swap carriers 2 & 5 and your array will still function, provided you do so while the Pegasus is powered down). Note that if you do remove more than one drives from an live RAID-5 array you'll lose all of your data, even if the array was idle when you pulled the drives. You can remove a single drive and be fine, although you'll have to resyncrhonize the array when you insert the missing drive. A full RAID-5 rebuild takes about 7 hours on the Pegasus R6. The array is still usable during its synchronization process.
Around back there are two Thunderbolt ports and a serial port, the latter presumably for firmware updates/direct access to the on-board controller (the port is currently undocumented).

There are two fans in the Pegasus R6: a large ~100mm fan to cool all of the drive bays and a small ~40mm fan to cool the integrated PSU. The Pegasus ships with a 250W 80Plus Bronze certified power supply. The PSU isn't intended to be user serviceable and can't be removed without disassembling the Pegasus.
The Pegasus is powered by a standard 3-pin AC power connector. Promise supplies a cable although any standard PC power cable will work.


88 Comments
View All Comments
takumsawsherman - Saturday, July 9, 2011 - link
You mean like booting from a CD or USB flash drive and copying files to a very small, hideable storage container?Perfectly possible, and in fact I find myself doing this frequently (though copying the data in the other direction typically) when disinfecting PCs. I do this multiple times per week, removing data stealing trojans and rootkits.
Compare with Thunderbolt, where you will "sneak in with only a laptop and a cable and reboot and press T, and ZOMG yor datas are hax0red! Ha HA ha stupid Apple!!!111oneonewonwon"
Leaves obvious traces? Exactly what traces did the Boot CD leave?
Penti - Wednesday, July 13, 2011 - link
As you can password protect (which can be bypassed with physical access any way) the firmware it doesn't matter if it is Firewire/Thunderbolt-target or USB-stick/HDD that access and or copies the files or simply a CD that changes your password so you can just log in an access everything without any effort at all. If you don't have limits on the firmware/bios any way you can just set up whatever, and access anything without any effort, less so then using slow target disk mode, even through network boot is possible which might be on in a corporate/university environment any way.Just disable the good damn features you don't like, it don't make your computer safe but I'm sure it will quit you whining for nothing.
You will just access everything by running the system rescue tools on the install CD for OS X any how. Windows computers are essentially unprotected any way. So I really don't see how it's any worse then plugging in a USB stick to access everything or change the password (SAM) to blank/whateveryoulike. Screaming about a ten year old feature is just dumb. Just set up a firmware password and it stops people from simply booting a CD, USB-drive, HDD-drive, using target disk mode and network boot any way. It's simply not more vulnerable then PCs any way. It's quite easy to restore the firmware-password thus bypassing it on say an iMac any way, I could easily do it on older macs without taking the entire computer apart. And on a PC of course resetting CMOS password is often troubleless and manufacturers often has master passwords you get by calling the support any way. Later macs has got better protection from resetting the firmware password though. So just set the damn password.
Penti - Friday, July 8, 2011 - link
They are not driving the screen with a separate control-board. That's why target display is so awkward. You can expect third party stuff (and older macs) will work when Atlona has designed and released an Thunderbolt-compatible adapter/switch/converter/scaler though. It a integrated solution not a screen and a computer separate. The screen is when used normally connected directly to the ATi/AMD 6000M GPU. That's why you can't adjust the screen in Bootcamp/Windows without their software tool too.HW_mee - Friday, July 8, 2011 - link
That makes sense, not much you can do to separate the two things if the screen is "merged" with the computer. I expected the computer part and screen part was seperate and the display input could be used in the same way as with most multiple input screens.If that was the case, a simple power circuit could control the screen and computer separately.
youngjimmy - Friday, July 8, 2011 - link
'Failing to do so will give you this all-*to*-familiar error' (bottom, The Pegasus: Software)Kimbie - Friday, July 8, 2011 - link
You made mention about connecting up a monitor to the last port on the chain, by plugging in a thunderbolt cable into the imac and used it as a second screen.Does this still work if you use a mini-display port to DVI adaptor and into a bog standard DVI monitor?
Kimbie
Focher - Saturday, July 9, 2011 - link
Just to clarify, the last connection in the chain to a mini DisplayPort monitor does not require a Thunderbolt cable. You would just use a mini DP cable.André - Friday, July 8, 2011 - link
Does it support JBOD?Would be really great for us using ZFS+ arrays, although I would have preferred at least 8 bays.
Exodite - Friday, July 8, 2011 - link
The performance is impressive, though nothing like what you'd get transfering a large number of smaller files obviously.That said, for 2000 USD why wouldn't I simply build a high-end desktop /with/ 12TB of storage?
It'd still be cheaper and I could put the remainder towards a gilded sticker for the case saying 'cheap-ass NAS'.
André - Friday, July 8, 2011 - link
It would appear that is the solution for you, building your own NAS.This enclosure is, however, not a NAS.
It enable users that need high disk performance to get easy access to precisely that in a mobile package you can take on the road with you and edit in the field.
Think large Final Cut Pro (or any other NLE), Logic Studio and Photoshop projects.